START HERE / ILLUSTRATED GUIDE
From WordPress
to your first cloud upload.
This guide is for a WordPress site already running on your host. The current wizard uses Google sign-in and supports a pairing code when you finish on another device.
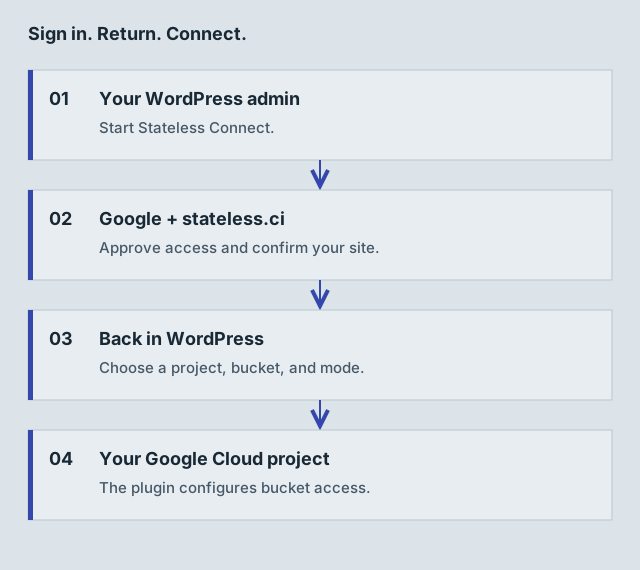
01 / IN WORDPRESS
Install the plugin.
Open Plugins → Add New Plugin, search for WP-Stateless, install, and activate. Open Media → Stateless Connect. For network-wide setup, use Network Admin → Settings → Stateless Connect.
02 / CONNECT YOUR ACCOUNT
Sign in. Approve. Return.
Click Sign in with Google. Choose the Google account that can manage your project, review the destination site and requested access, and approve if they match your intent. stateless.ci handles the connection and returns your browser to WordPress.
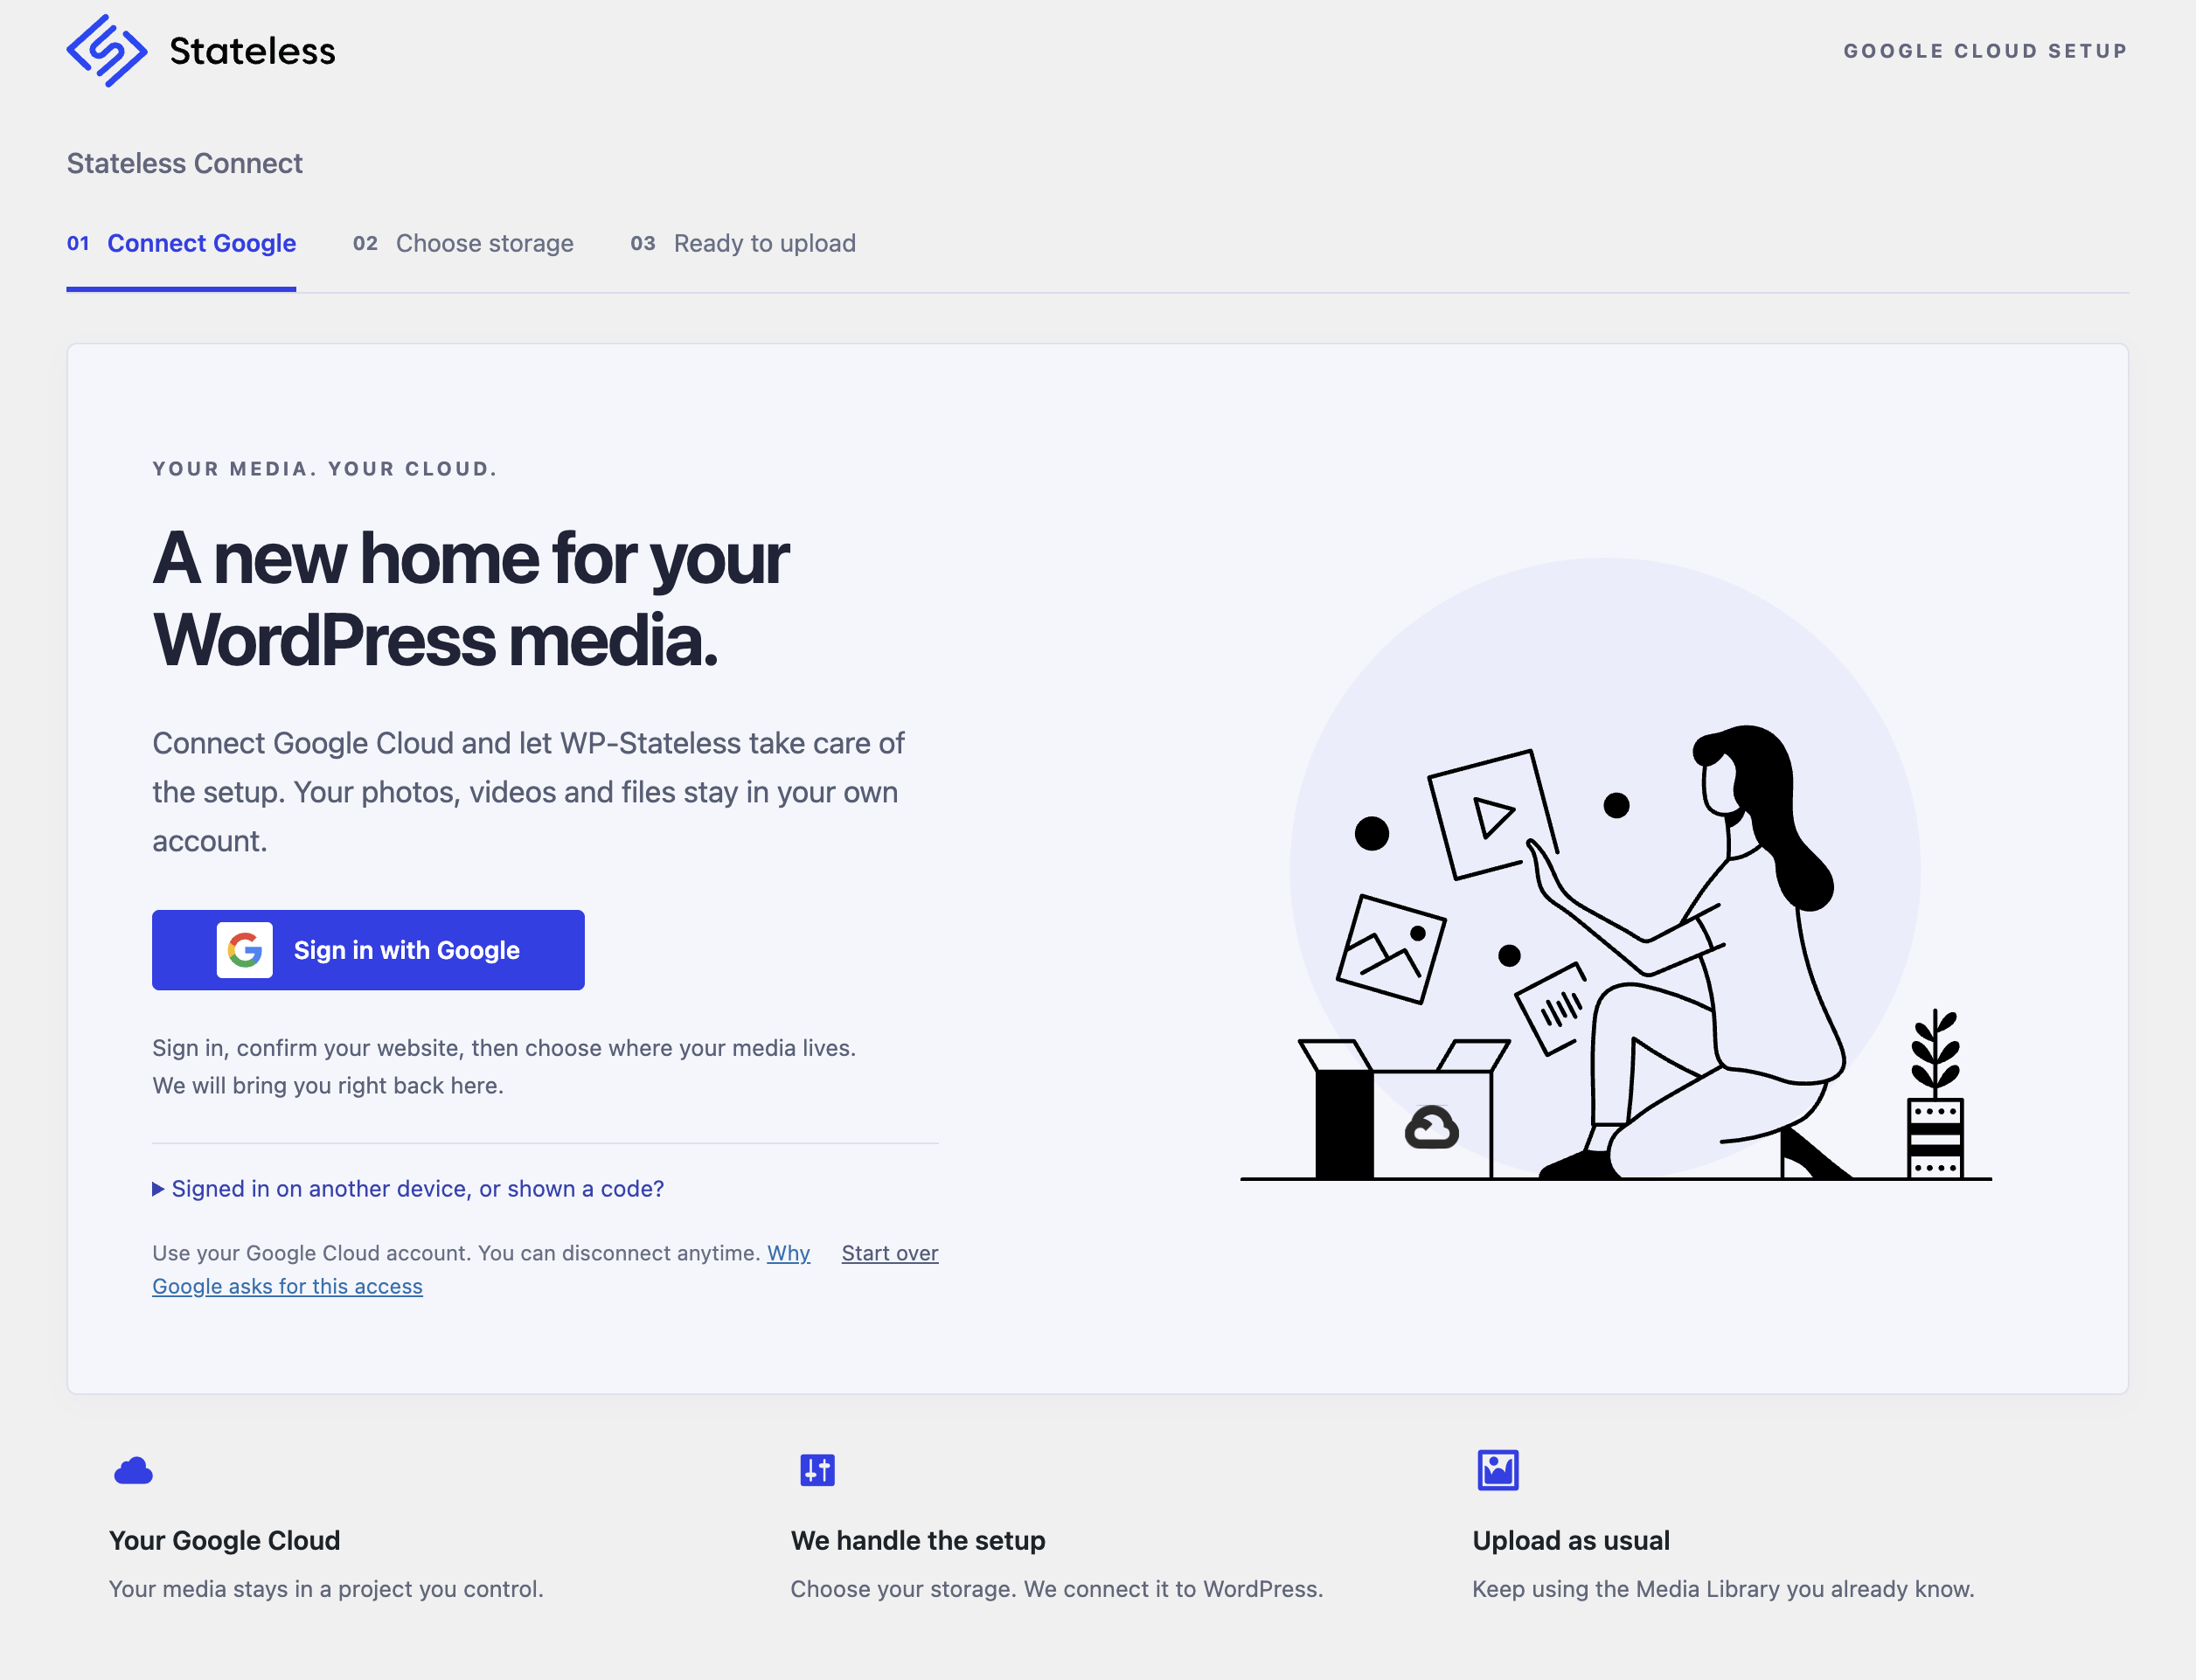
Same browser
The connection page returns you to your website. Continue in the storage step.
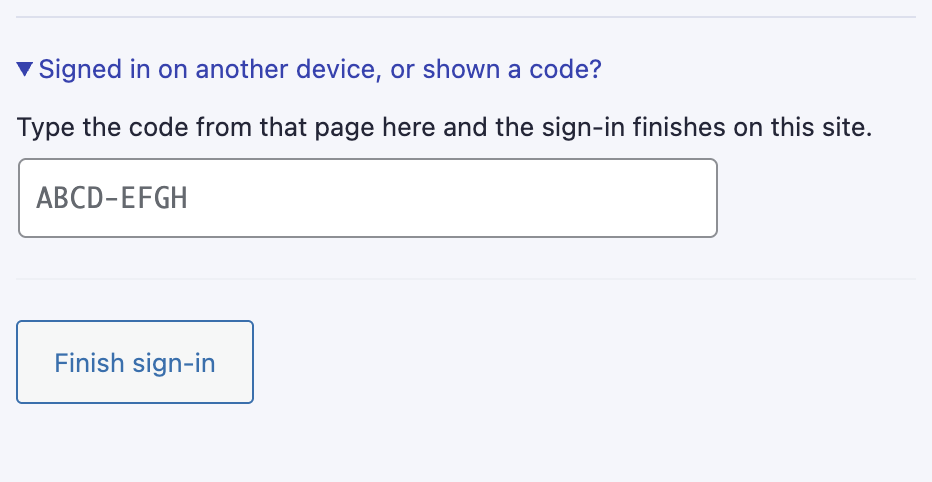
Another device
Use the pairing code shown after authorization. Enter it in the original site’s Stateless Connect page and finish sign-in. Codes are temporary and single-use.
Need a project or billing first? Follow the Google Cloud preparation guide. You do not need to create your own OAuth client ID or client secret for the normal connection flow.
03 / CHOOSE STORAGE
Your project. Your bucket.
Select your Google Cloud project. Choose Create a new bucket or Use an existing bucket. The existing-bucket picker supports search; the exact-name field is also available if your permissions prevent listing buckets.
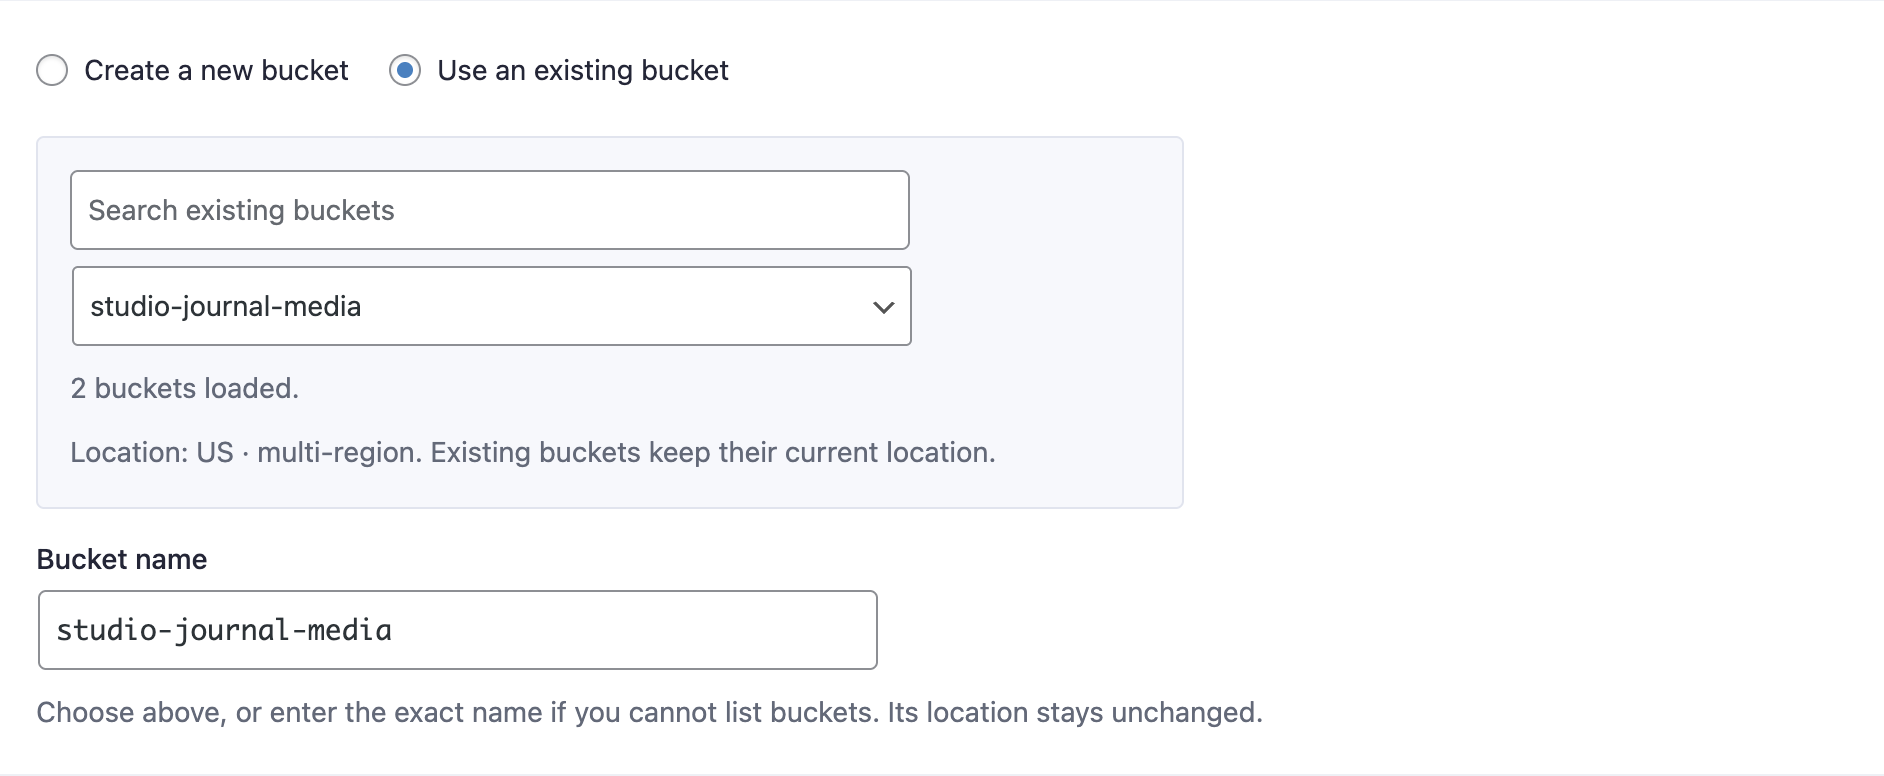
Choose a storage mode.
CDN retains a local copy. Ephemeral removes local files after processing and upload. Stateless uses cloud storage without retaining local uploads. Backup continues serving local files and also copies them to Google Cloud.
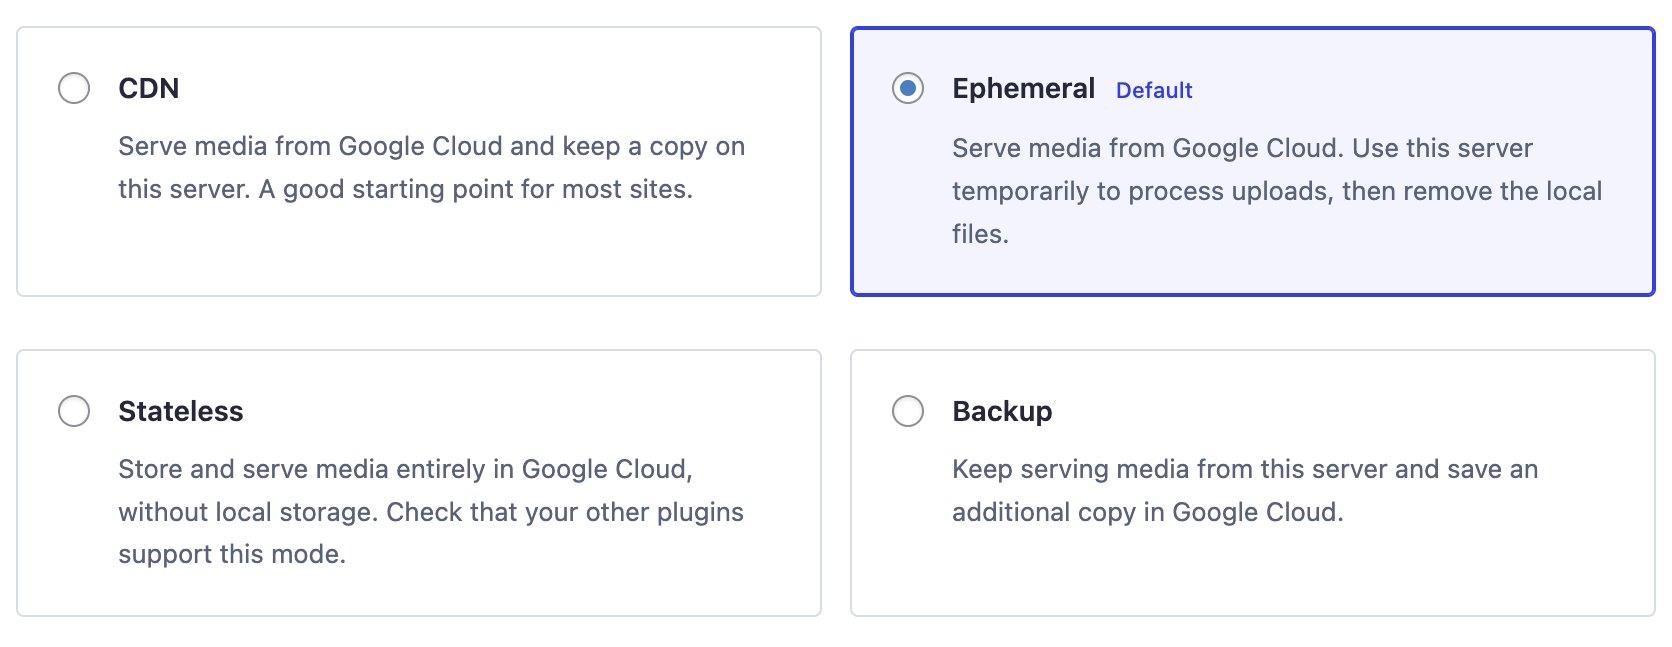
Review the scope and click Create bucket and connect this site or Connect this bucket. Wait for provisioning to complete. The wizard creates a service account and key for the connection and grants access to the selected bucket.
04 / VERIFY THE RESULT
Make your first upload a test.
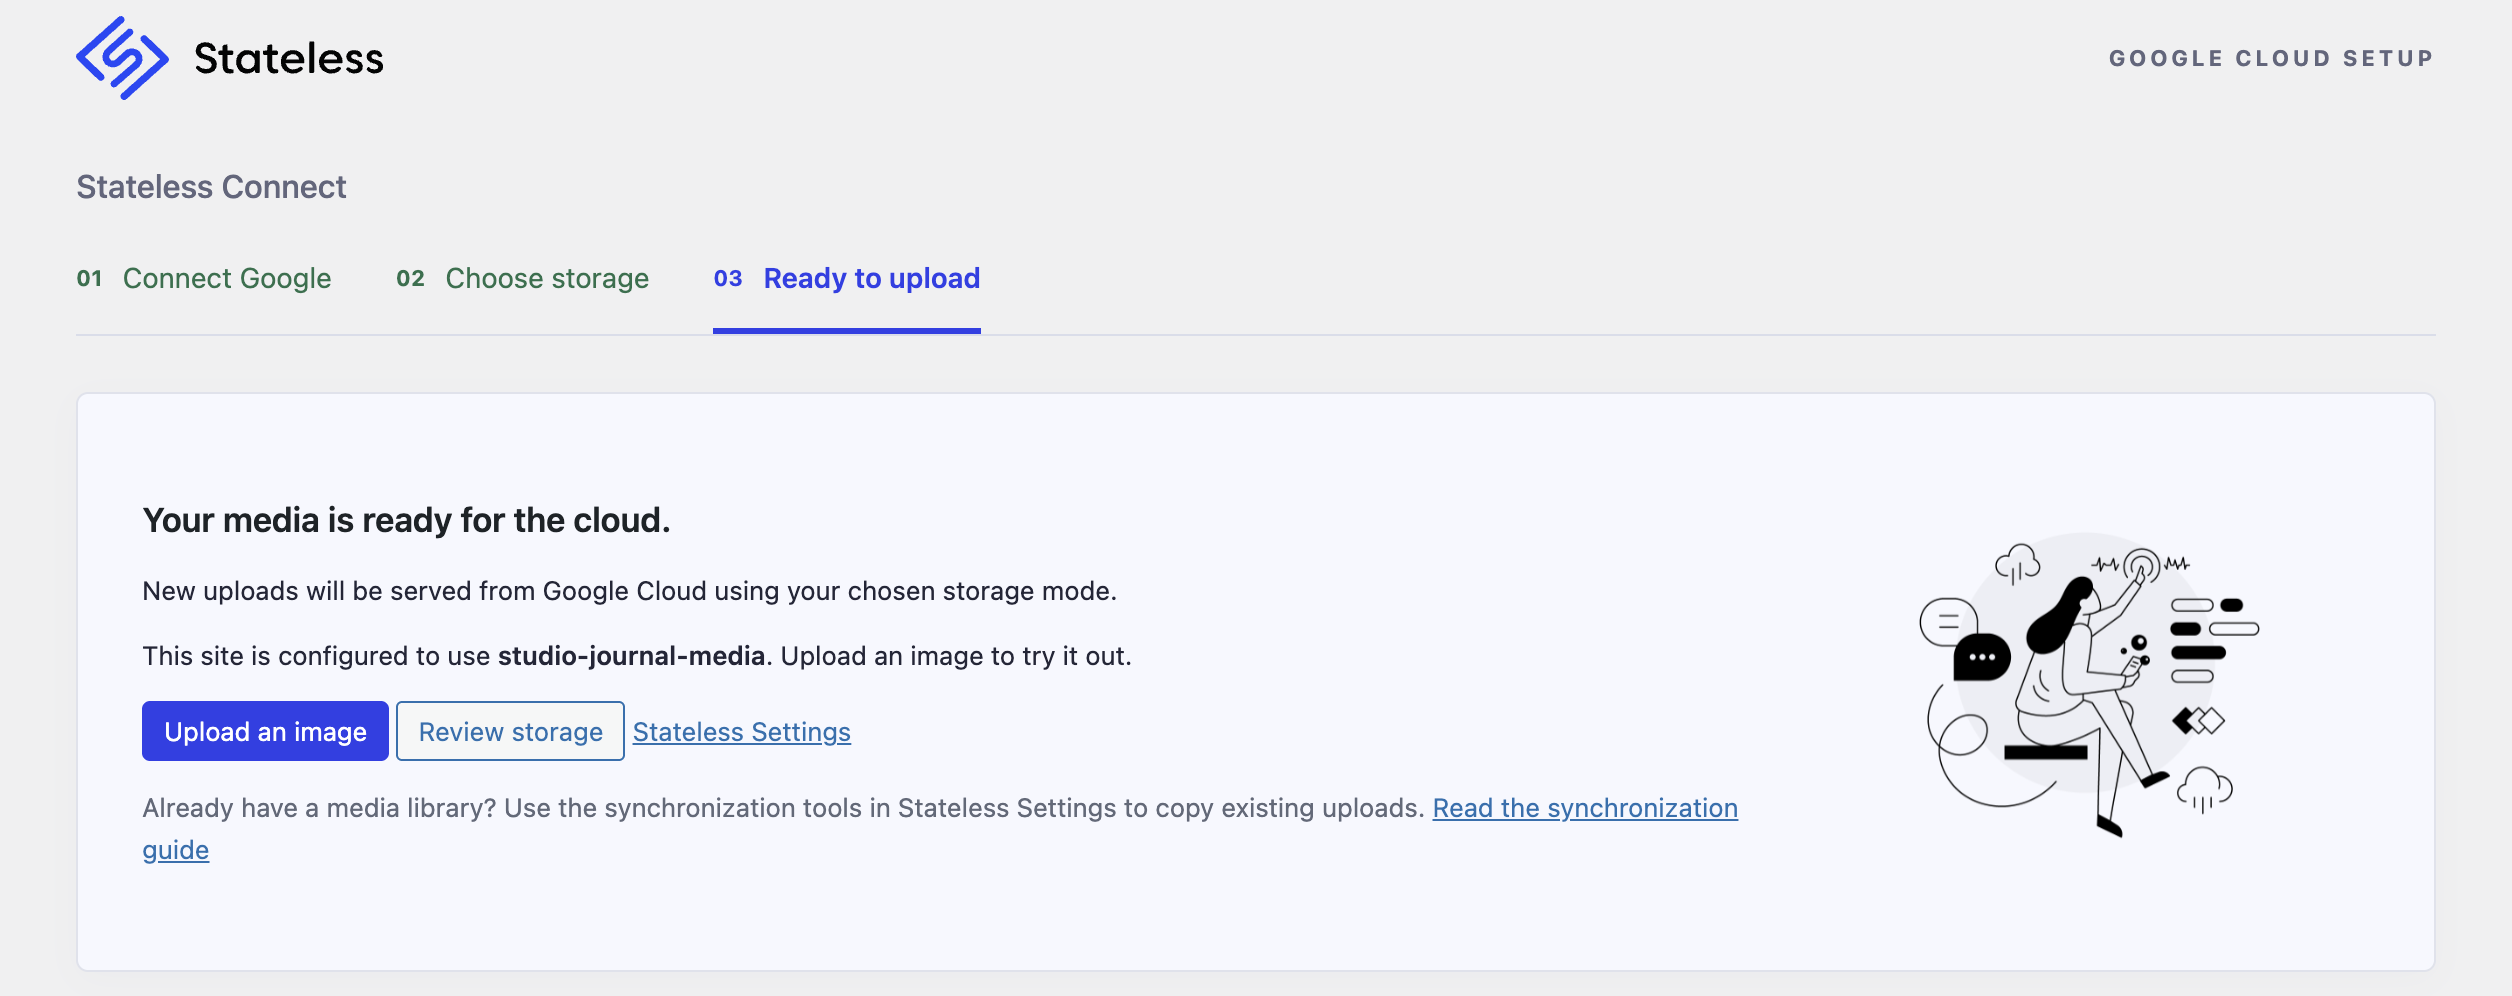
- Upload a small image through the Media Library.
- Open its attachment details and check the file URL. In cloud-serving modes it should use Google Cloud or your configured media domain.
- View a page containing the image while logged out. Check the original and thumbnail sizes.
- Open your bucket’s Objects tab in Google Cloud and confirm the uploaded files are there.
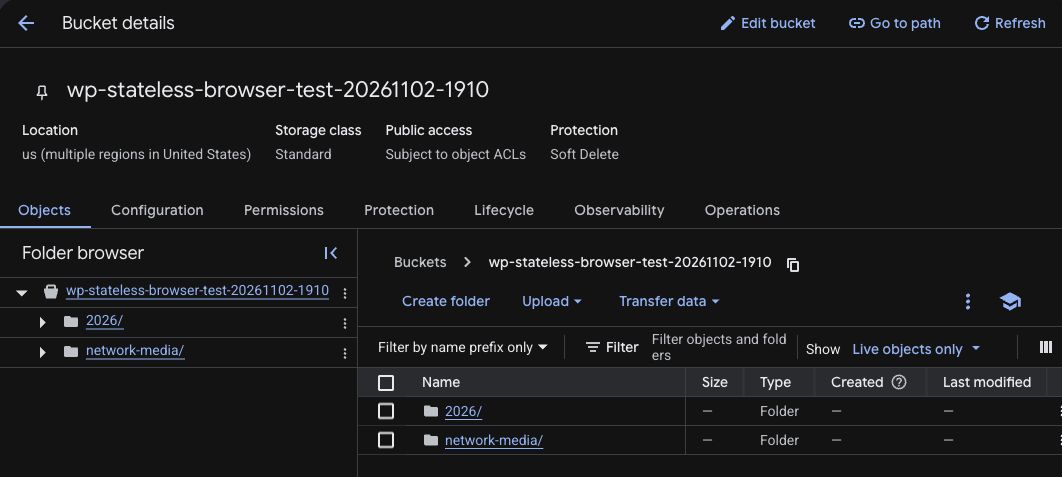
Once the sample works, follow the existing-library guide. If it fails, use troubleshooting before migrating the rest.
Using an older release? Original installation instructions
These labels describe the earlier assistant. The current flow is illustrated above.
- Search, install, and activate the WP-Stateless plugin via your WordPress dashboard.
- Begin WP-Stateless setup assistant at Media > Stateless Setup and click “Get Started Now.”
- Click “Google Login” and sign-in with your Google account.
- Set a Google Cloud Project, Google Cloud Storage Bucket, and Google Cloud Billing Account and click “Continue.”
- Installation and setup is now complete. Visit Media > Stateless Settings for more options.
Prefer to set it up yourself?
The automatic connection flow is the quickest starting point. The complete manual Cloud tutorials remain available if you want to understand or manage each resource yourself.
1. Billing account
Set up billing and associate it with your project.
2. Cloud project
Understand project names, IDs and organization ownership.
3. Storage bucket
Choose location, storage class, access and protection.
4. Service account and key
Configure the application identity and protect its JSON key.
5. WordPress settings
Save configuration, upload media and verify the bucket.